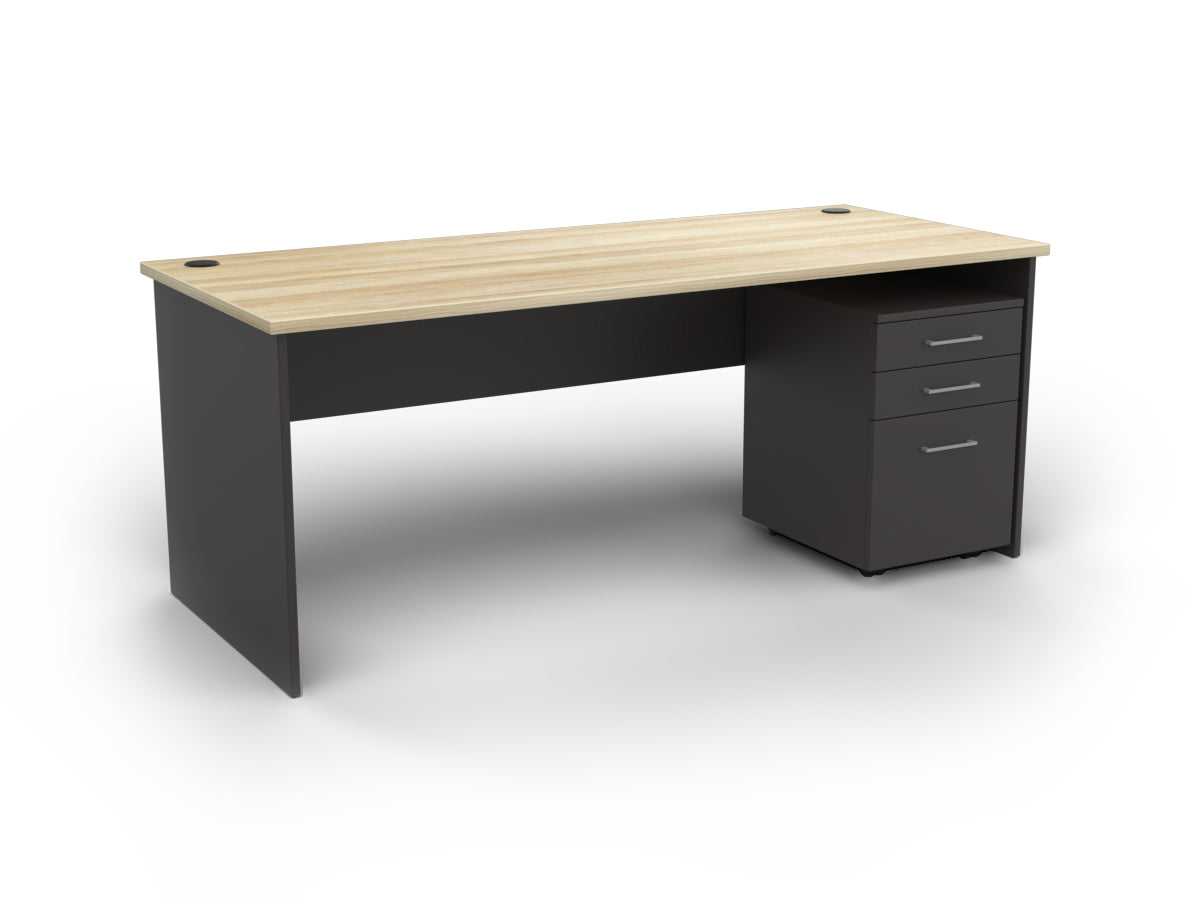


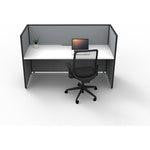


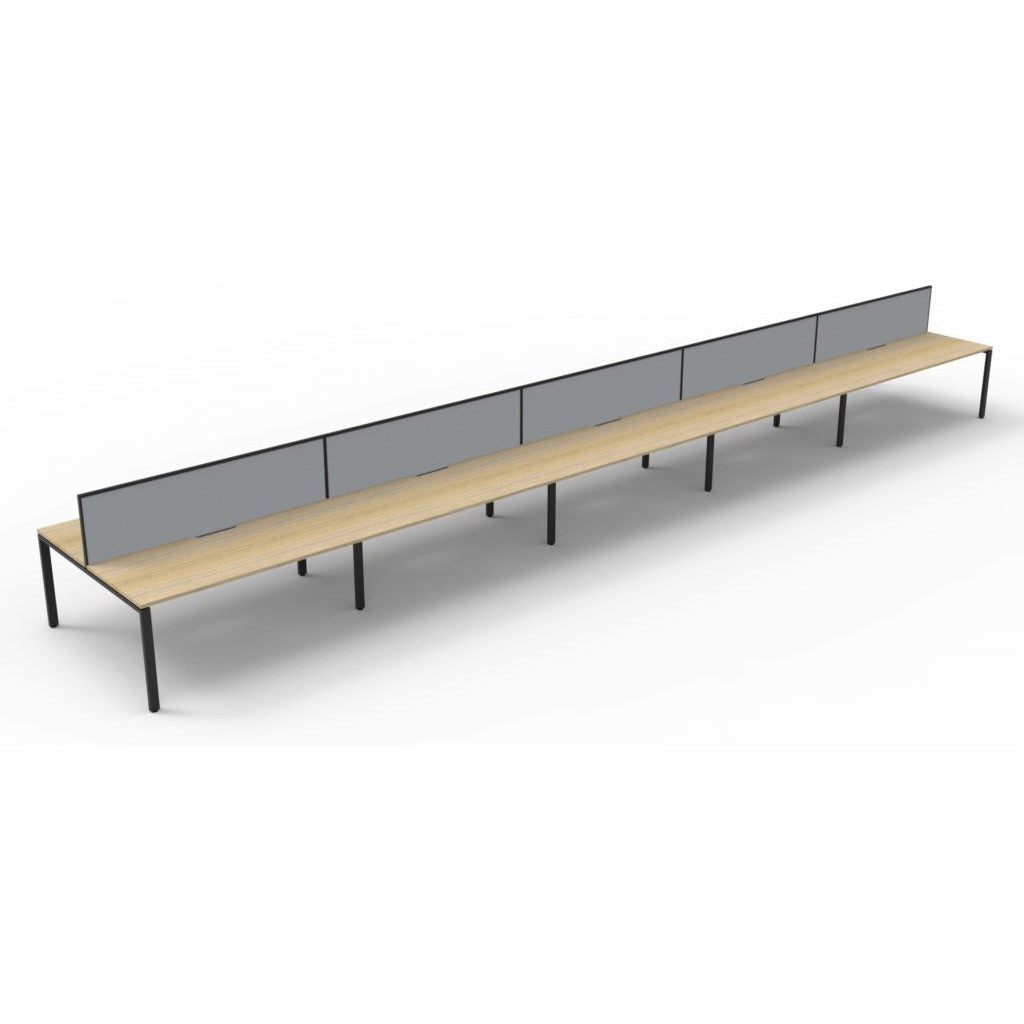
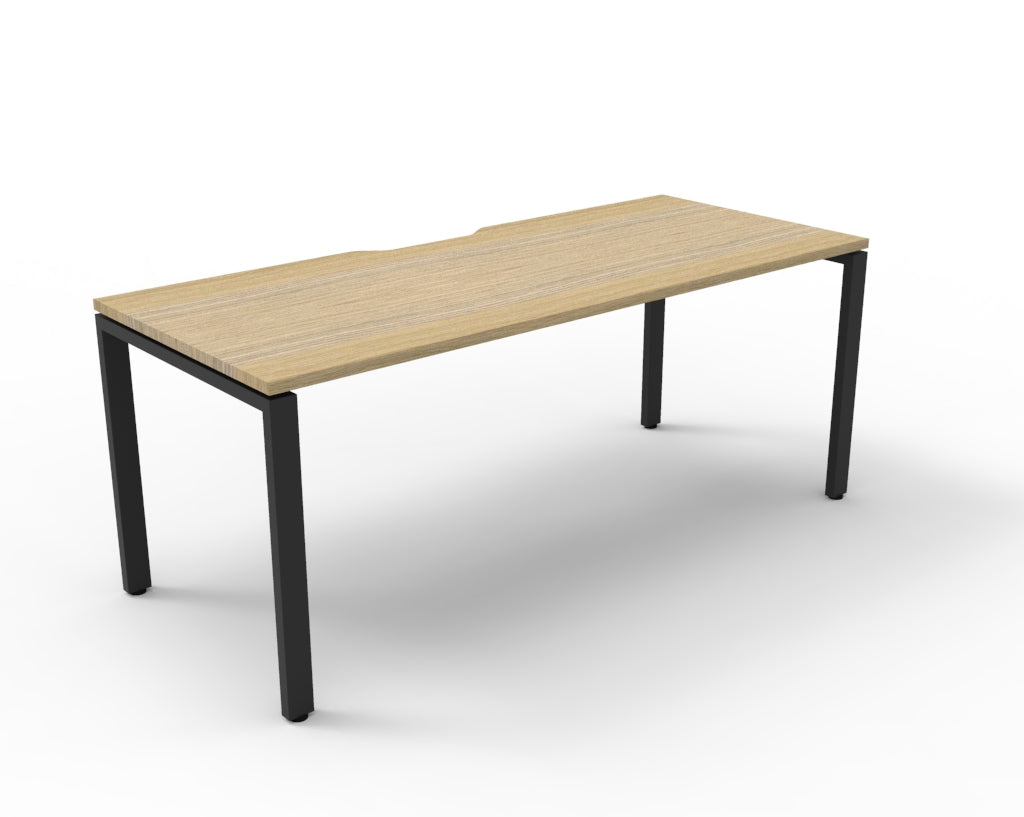

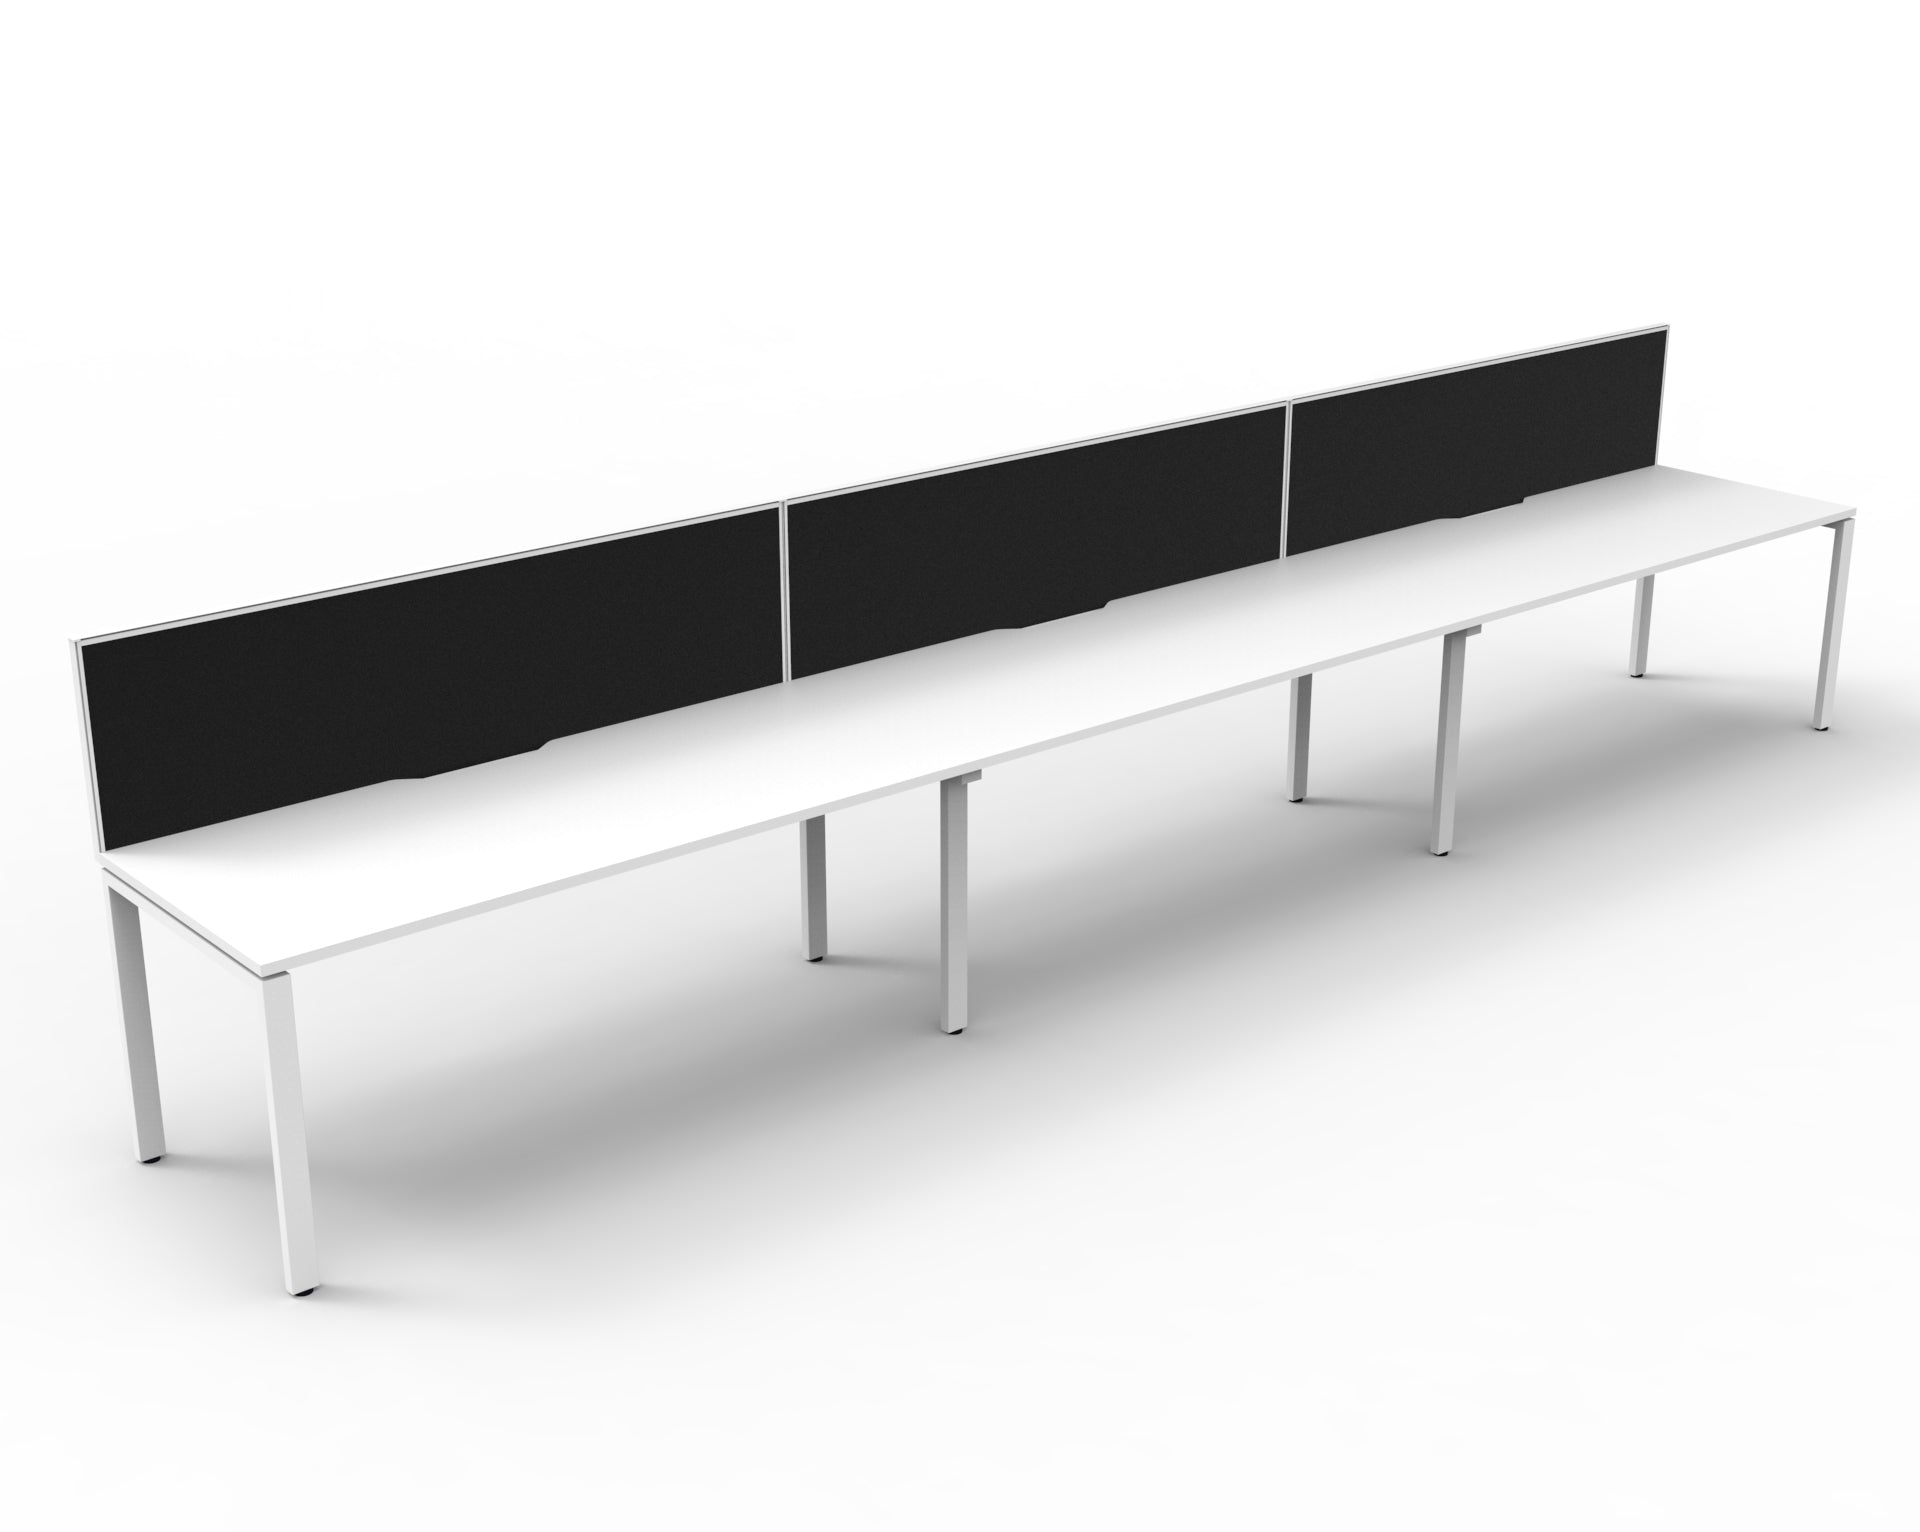


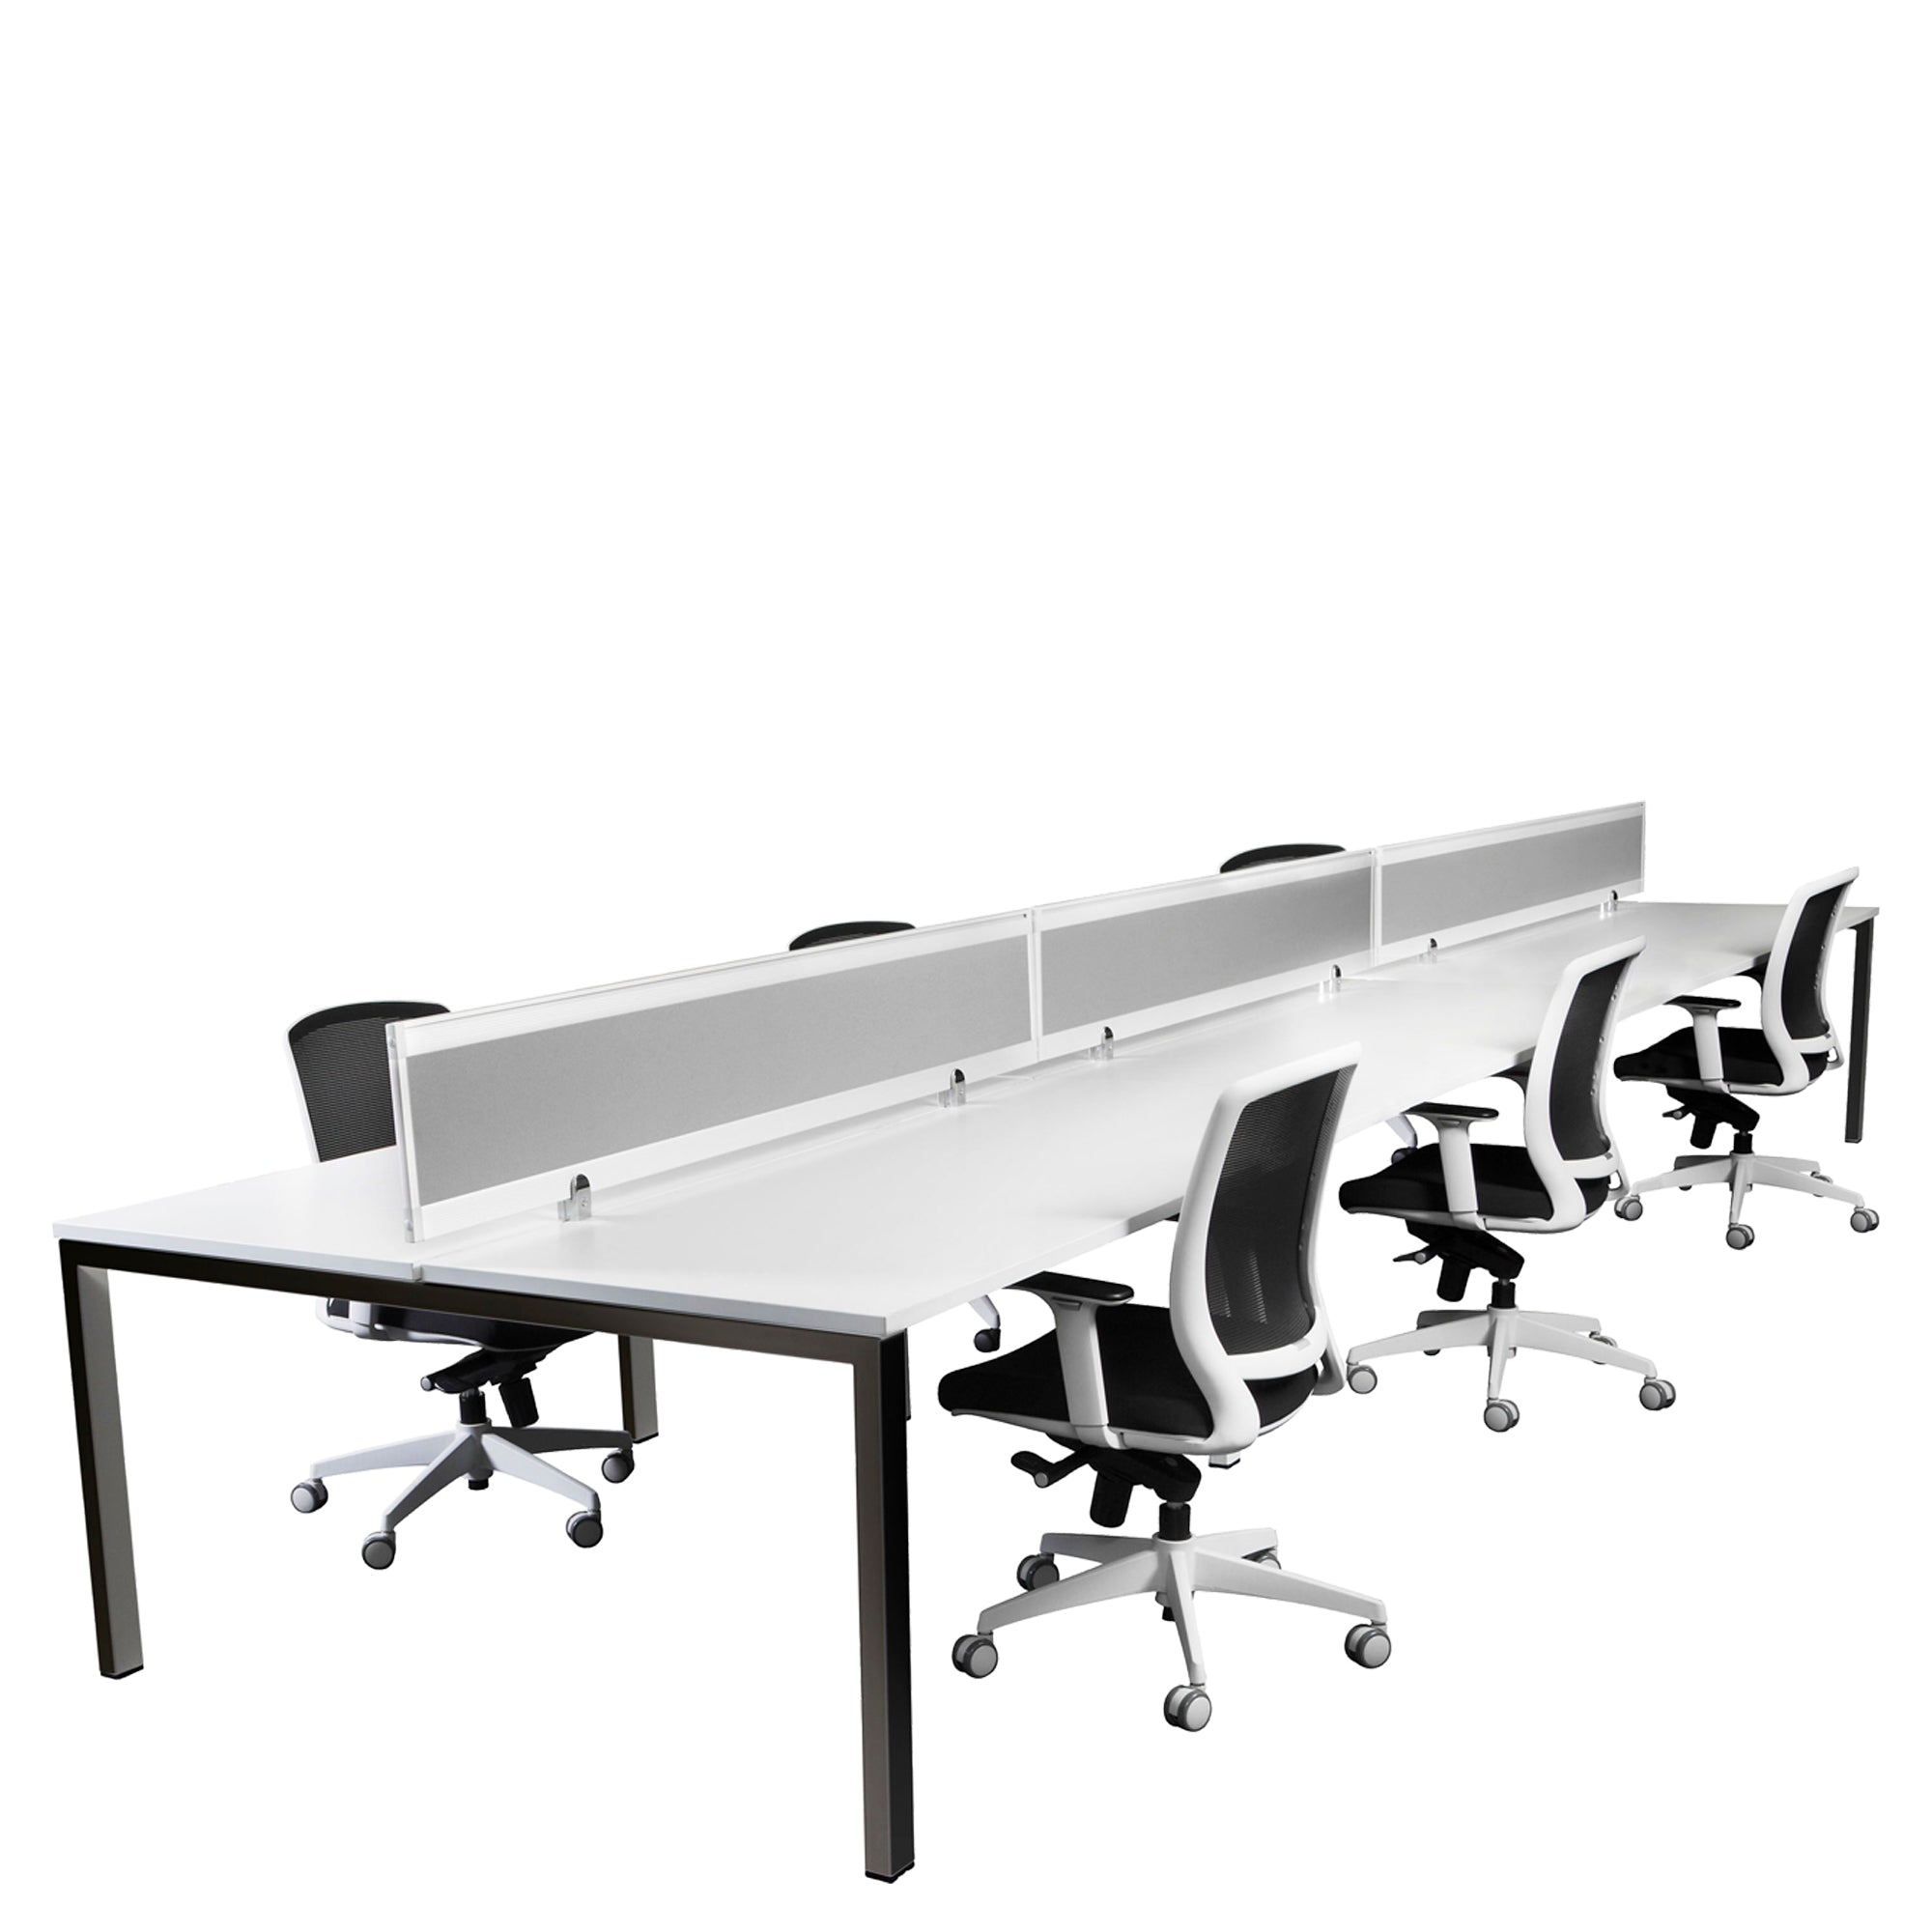
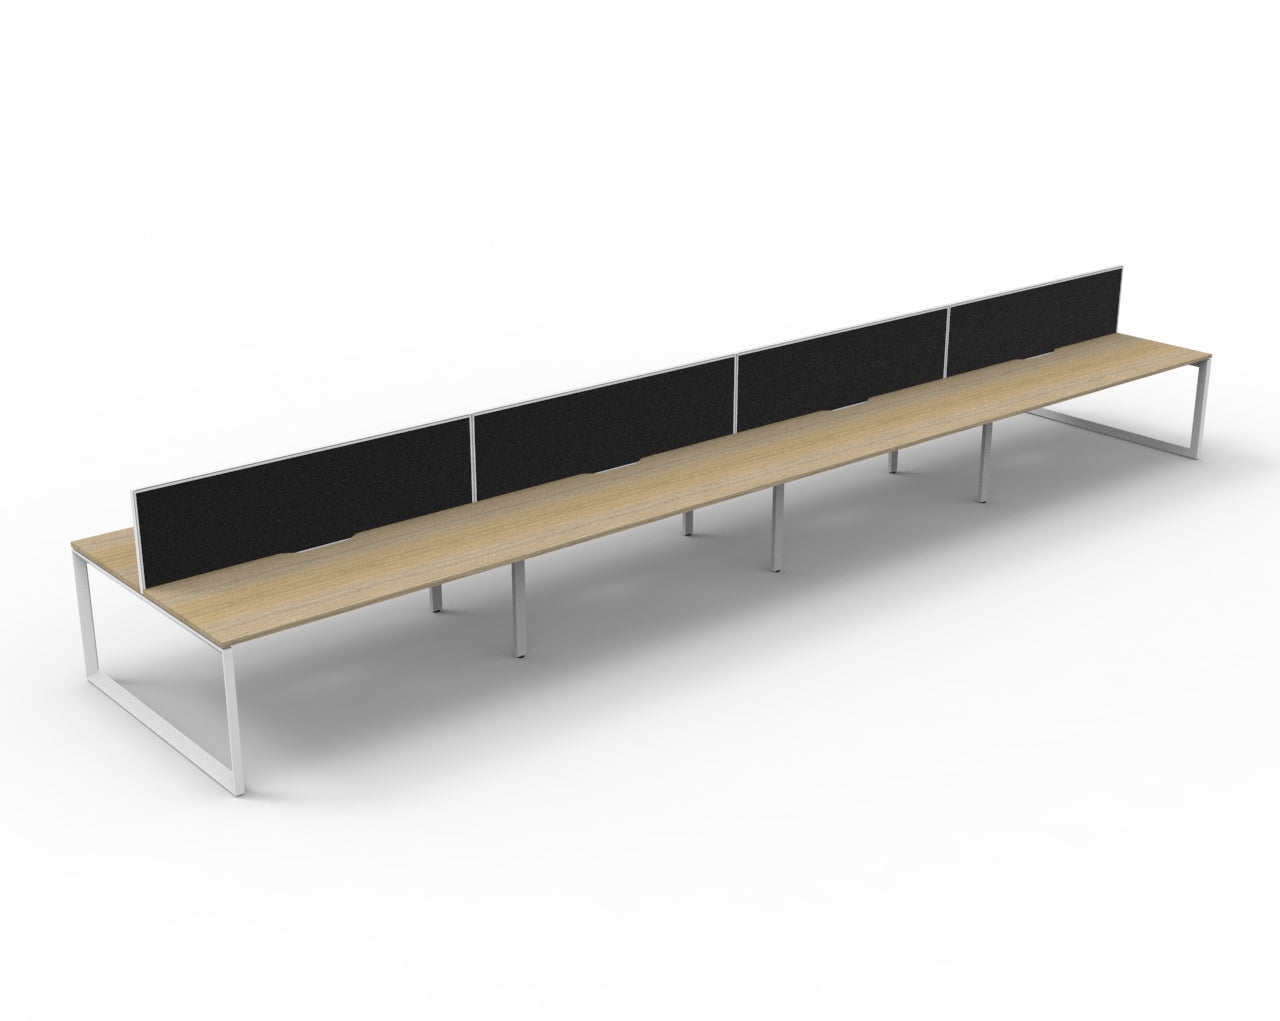
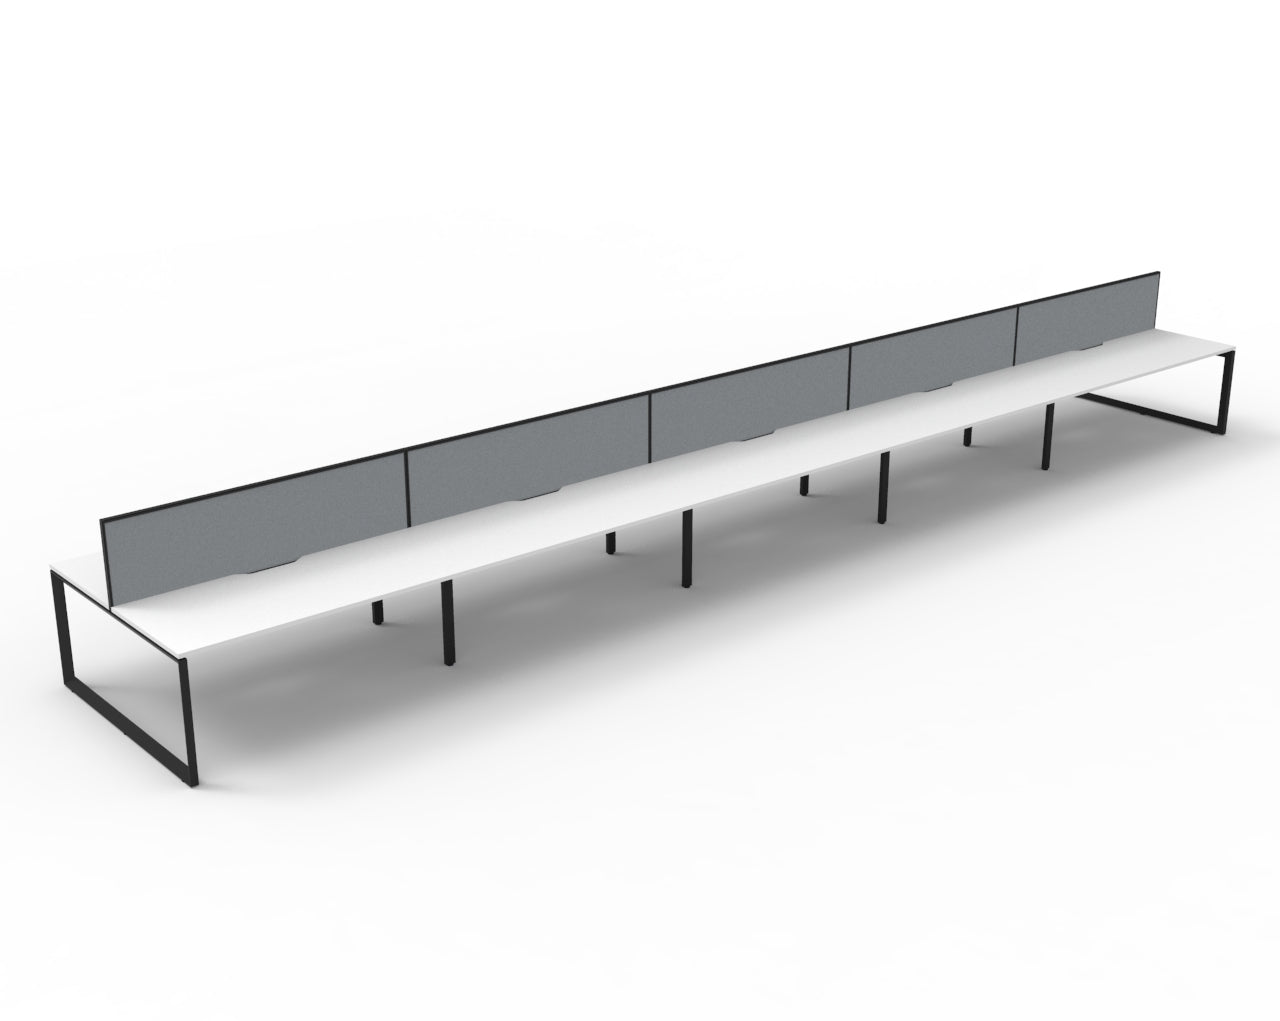
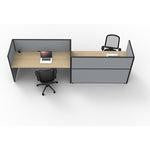

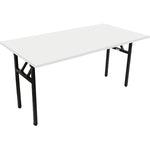

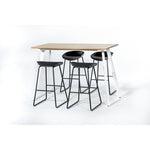


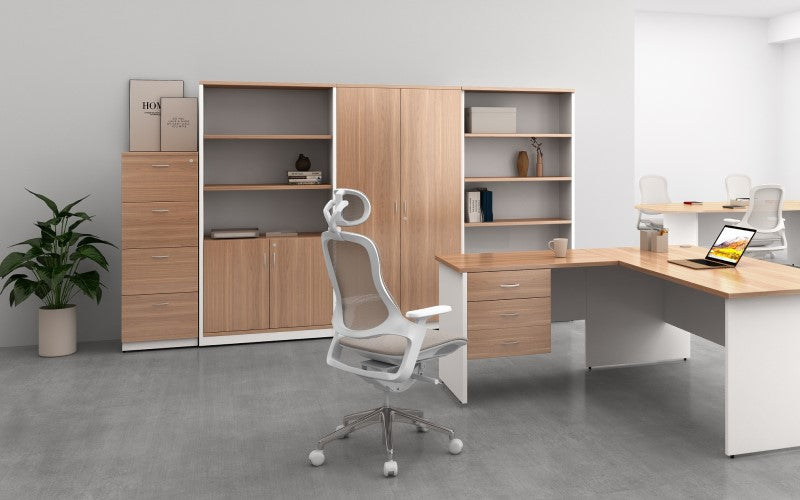


Boost Plus Single Sided Workstation Cable Tray & Screen Mounting Arm
Why Buy from Elite Office Furniture
2026 Award Winner
Multiple Categories
ProductReview.com.au
4.8 Star Google Rating
900+ Google Reviews
Fast Delivery Network
National stock network
for quicker fulfilment
Commercial Grade Warranty
Built to last
FREE SHIPPING ZONE
We provide free delivery for most metropolitan areas in Australia, but there may be additional delivery costs associated to some areas.

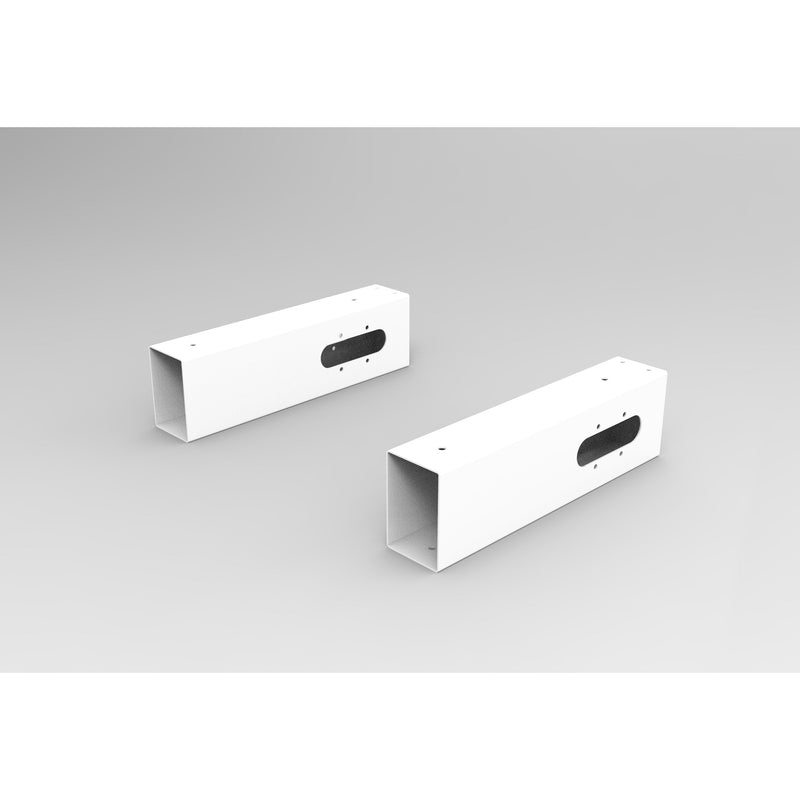
Boost Plus Single Sided Workstation Cable Tray & Screen Mounting Arm
Sale price$37
Regular price
was (/)
Product Description
|
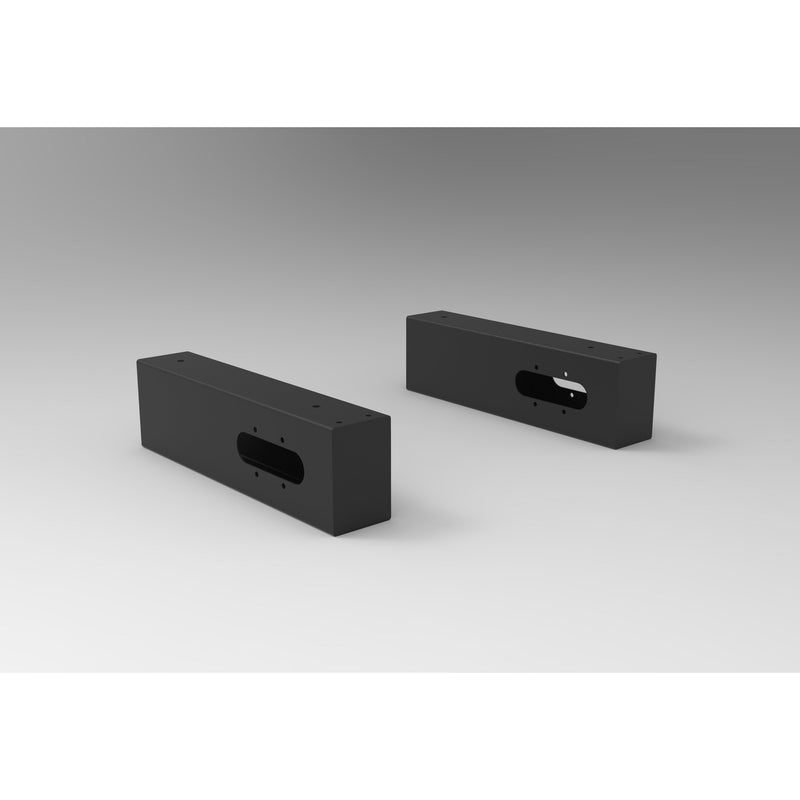
Boost Plus Single Sided Workstation Cable Tray & Screen Mounting Arm
|
Product Information
Important Installation Note:
The Boost+ Single Sided Workstation Cable Tray & Screen Mounting Arm is designed to align precisely with the Boost+ leg frame and must be installed flush with the Boost+ legs for correct fitment and support.If the workstation has already been fully installed, adding the cable tray afterward can be difficult, as access to the mounting points is limited and the tray must sit exactly flush with the leg frame.
As shown below, installation requires removing specific screws from the workstation frame first to access the internal “U” bracket and mounting points inside the cable tray arm. The screws marked by the red arrows must be removed before proceeding with the screws marked by the blue arrows.

You will also need to loosen and remove the screw from the cable tray arm to access the internal bracket. The required hardware (4 pcs M8x10 screws and 6 pcs M6x10 screws) is located inside the arm.
In some cases, partial disassembly of the workstation may be required to correctly fit the cable tray after installation. For best results, we strongly recommend purchasing and installing the cable tray at the same time as the workstation setup.
|
Boost Plus Single Sided Workstation Cable Tray & Screen Mounting Arm
|
Product Information
Important Installation Note:
The Boost+ Single Sided Workstation Cable Tray & Screen Mounting Arm is designed to align precisely with the Boost+ leg frame and must be installed flush with the Boost+ legs for correct fitment and support.If the workstation has already been fully installed, adding the cable tray afterward can be difficult, as access to the mounting points is limited and the tray must sit exactly flush with the leg frame.
As shown below, installation requires removing specific screws from the workstation frame first to access the internal “U” bracket and mounting points inside the cable tray arm. The screws marked by the red arrows must be removed before proceeding with the screws marked by the blue arrows.
You will also need to loosen and remove the screw from the cable tray arm to access the internal bracket. The required hardware (4 pcs M8x10 screws and 6 pcs M6x10 screws) is located inside the arm.
In some cases, partial disassembly of the workstation may be required to correctly fit the cable tray after installation. For best results, we strongly recommend purchasing and installing the cable tray at the same time as the workstation setup.